Moving on! We’re getting into some traditional holiday flavors now with this one. A soft, cakey type cookie with a sweet potato-spice vibe and a maple glaze. They remind me of those soft smooshy cookies you find in the grocery bakery section but better because they actually have flavor.
Ok. So one thing to note. I try very hard not to get too fiddley with these recipes but sometimes it happens in the smaller batches and you’ll find yourself doing your best to measure 1/6 of a teaspoon of something or needing ½ egg yolk. For this one, yes there are a few 1/16 teaspoons in the smaller batch recipe, which is really a very big generous pinch. Don’t worry about being terribly precise; more spice isn’t a bad thing. This one also requires roasting a sweet potato first. It’s fairly easy, throw it in the oven for an hour while something else is baking and you’re good to go. Any extra can be thrown in a soup, stirred into oatmeal, those morning pancakes or any baked good or just eaten plain with a little brown sugar and butter. You could also substitute pumpkin puree if you have some extra lying about.
The soft cookies are dipped into a simple powdered sugar/maple syrup glaze and left to set. I like a bit of candied ginger on top or you can give them a sprinkle of cinnamon. Or both. Or neither. It’s the holiday, do what you want.
12 Days of Cookies from years past:
Fruity: Jam Thumbprints, Jam Streusel Tarts, Raspberry Linzer Squares, Lemon Poppyseed Buttons, Orange Sesame Crisps, Cranberry Pistachio Coins, Almond Raspberry Strips, Orange Sandwich Cookies, Apricot Rosemary Shortbread, Coconut Lime Sticks, Bourbon Glazed Fruitcake Buttons, Lemon Cornmeal Biscotti, Blueberry Lime Buttons, Date Swirls
Nutty: Mexican Wedding Cookies, Russian Tea Cakes, Pecan Tassies, Maple Black Walnut Cookies, PB&J Sandwich Cookies, Pecan Triangles,
Spiced: Cinnamon Sugar Pinwheels, Candied Ginger Spice Buttons, Cardamom Rose Coins, Brown Sugar Wafers with Lemon Lavender Glaze
Chocolate: Basic Chocolate Butter Cookie Dough, Mexican Chocolate Crinkles, Chocolate Cocoa Nib Wafers,Raspberry Chocolate Drops, Chocolate Hazelnut Buttons, Dark Mocha Sandwich Cookies, Espresso Crinkles, Cranberry Cocoa Nib Wafers, Chocolate Dulce de Leche Sandwich Cookies, Chocolate Lebkuchen, Fudge Tarts, Chocolate Marzipan Drops, Chocolate Coconut Bullseyes, Chocolate Peanut Butter Sandwich Cookies, Chocolate Almond Crescents, Chocolate Covered Cherry Cookies
Bars: Rum Butter Bars, Peppermint Brownie Bars, Banana Walnut Bars, Chocolate Banana Petit Fours
Holiday Classics: Cream Cheese Wreaths, Classic Molasses Cookies, Peppermint Candy Canes, Andes Mint Chip Cookies, Holiday Mallomars
This year:
Basic Butter Cookie Dough for all recipes
Day 1: Sparkly Sugar Cookies
Day 2: Pecan Praline Bars
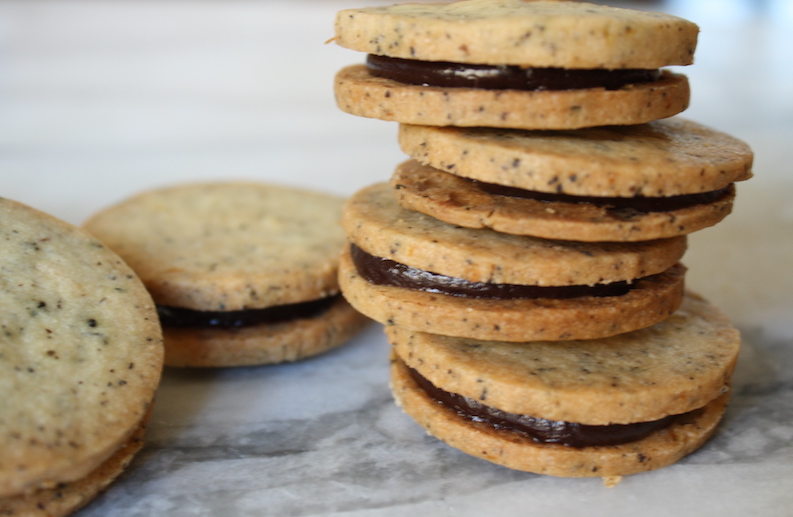
Day 3: Earl Grey Sandwich Cookies
Day 4: Butter Brickle Cookies
MAPLE GLAZED SPICED SWEET POTATO COOKIES
Base Butter Cookie Dough – recipe here

- Preheat oven to 350ºF. On a sheet pan lined with aluminum foil, prick the sweet potato all over with a fork. Bake until tender, 1 hour. Let cool.
- Once cooled, remove the skin and mash until smooth. Measure the amount needed. Use any extra puree in soups, pancakes, muffins and other baked goods (or anywhere you would use pumpkin.)
- In the bowl of a standing mixer fitted with the paddle attachment, combine the room temperature cookie dough, mashed sweet potato, brown sugar, baking soda, cinnamon, ginger, nutmeg, cloves and salt until well combined.
- Chill the dough at least 30 minutes or overnight.
- Preheat the oven to 325°F.
- Using a tablespoon sized cookie scoop or a spoon, scoop the dough into tablespoon sized balls and place on a parchment or silicone baking lined sheet pans 1” apart. (the dough can be frozen after rolling for up to 3 months.)
- Bake 10-12 minutes until the tops firm to the touch but still soft and haven’t started to brown. Rotate halfway the pans halfway through baking.
- Transfer to a wire rack and let cool completely.
- For the glaze: in a medium bowl, whisk the powdered sugar, maple syrup and water together until smooth.
- Dip the top of each cookie into the glaze and gently shake off any excess. Return to the sheet pan and top with a pinch of finely diced candied ginger. Let dry until set.
- Do ahead: cookie dough can be frozen up to 3 months. Let defrost then scoop and bake as directed.